Monday, May 7, 2018

CAS Christmas Snowman


Happy Monday, peeps!  Hope your week is starting off well!  I have a cute little Christmas card to share today, made for the CAS Christmas challenge of "snowman" as well as the CAS(E) this Sketch sketch:


There's very little stamping on this...just a few snowflakes and a sentiment from a past Paper Pumpkin kit:


I used Lawn Fawn's Stitched Hillsides dies as well as a snowman die from W+9's Stitched Holiday Icons to create my little scene.  I used a scrap of Pumpkin Pie for his nose and some computer-generated gingham paper for his scarf:


I did a wee bit of sponging with Soft Sky ink and stamped the sentiment on the inside:


Easy peasy!  Thanks for popping in today!

Cassidy went to a trampoline park yesterday for her friend's birthday party:


She obviously had a rambunctious time!  Out like a light!


Enjoy your day and be blessed!

Project Details—All Products SU! Unless Otherwise Specified
Stamps Paper Pumpkin (ret)
Card stock & Papers     Whisper White, Pumpkin Pie
 Ink Real Red, Soft Sky
Accessories Dimensionals
Tools     Big Shot, Stitched Hillside Dies (Lawn Fawn), Stitched Holiday Icons Dies (W+9), Basic Black Marker, Sponge Dauber

Sunday, May 6, 2018

PP392 Tea Party


Hey peeps! Happy Sunday to you all!  Nance is our Paper Players hostess today and she has come up with a sweet theme:


I don't have a lot of tea cup or teapot images, sadly, but I did have this little Tiny Teacup stamp saved from several years ago...I have been digging into my older stash of stamps a lot lately!  So I inked it up and here's what I came up with:


I used the color challenge from CAS Colours and Sketches:


as well as the sketch from the Inspire.Create challenge:


I began by stamping a panel of Soft Sky with the Paisley background stamp in Soft Sky ink and sponging the edges lightly with Sahara Sand ink.  I stamped three teacups in Berry Burst and fussy-cut them out, then mounted them on Whisper White circles that had been embossed with the Perfect Polka Dot EF.  They all went on a Sahara Sand panel that was diecut and also embossed with polka dots:


I added some twine from my stash and a couple of sentiments from Papertrey, stamped in Early Espresso, then stamped this oldie on the inside:


It's from a retired SU set called Friend to Friend!  Isn't it sweet?!  I hope you'll play along with our tea party theme...there are so many possibilities for inspiration, we hope to see your pretty creation among those in the gallery!  And here are the DT links for you to check out as well:

·        Claire
·        Jaydee
·        Joanne
·        Laurie
·        Nance
·        Sandy
·        Elizabeth
·        Annie
·        Jan

The best way to pop giant bubble wrap is to JUMP on it!


Enjoy your day and be blessed!

Project Details—All Products SU! Unless Otherwise Specified
Stamps Paisley, Tiny Teacups, Friend to Friend (all SU ret), What the Doodle:  Feather (Papertrey)
Card stock & Papers     Soft Sky, Whisper White, Berry Burst, Sahara Sand
 Ink Soft Sky, Berry Burst, Early Espresso, Sahara Sand
Accessories Twine (Doodlebug), Dimensionals
Tools     Big Shot, Layering Circles Framelits, Perfect Polkadots Embossing Folder (ret), Stitched Borders Dies (Lawn Fawn), Sponge Dauber

Saturday, May 5, 2018

GDP136 Celebrate in Gold


Hi peeps!! Happy Saturday!  Hope you've got something fun planned to do this weekend!  I have a masculine card for you today...they are sometimes a challenge, aren't they?   Today's uses the Global Design Project challenge to CASE Allison Okamitsu's cute little card here:

Although you could use any element from her card as an inspiration, I just loved the sketch, and since I have a few masculine birthdays coming up, I forced myself to go in that direction!  Since Awesomely Artistic was still on my desk, (I think I will need to do a tidy-up today!), the medallion in that set, which I rarely used, seemed to be a good element for those four little circles!  I heat-embossed them in gold on Thick Vanilla cardstock, diecut them out and matched them up with some Night of Navy cardstock and Eastern Palace Specialty Paper:


They look pretty embossed in gold, don't they...oh, am I allowed to say "pretty" for a masculine card???


Well, how about stylish?  This sentiment from Truly Tailored fits the bill; I diecut it and a Night of Navy mat with the Layering Ovals framelits to finish off the front of the card:


And here's the inside:


Adding it to my birthday stash!  So happy you popped in today!  And I don't have a Cassidy picture, but as I was puttering around in the kitchen yesterday, I just happened to look out the window and saw this:


It's a pileated woodpecker...I hear them in the woods, but they're very hard to see, they move FAST!  I know my PP teammate Jaydee has them all the time, but it's quite exciting to see one here!  Unfortunately, the maple tree just outside my window is dying and is going to have to come down very soon and my birds will have no place to visit.  I am very sad.  But hopefully we can replace it with another and it will grow quickly!!  Thanks for indulging my bird obsession!  Have a blessed day!

Project Details—All Products SU! Unless Otherwise Specified
Stamps Awesomely Artistic, Truly Tailored
Card stock & Papers     Night of Navy, Thick Vanilla, Eastern Palace Specialty DSP
 Ink Gold Encore (ret), Night of Navy
Accessories Dimensionals, Gold Embossing Powder
Tools     Heat Tool, Big Shot, Layering Ovals Framelits, Layering Circles Framelits, 1 1/4" Circle Punch

Friday, May 4, 2018

AYSI174 Shades of Gray Speed Stamping


Happy Friday, peeps! Yay, the end of the week and time for another As You See It challenge!  Does this one spark your interest?!  I have never seen this movie so it might not have the same meaning for you...for me, it means Speed Stamping (less than 10 minutes) in any and all shades of gray!  Fun!


At first, as I thought about this challenge, I was a little stumped, but then realized there were lots of images that I could have used!  While going through some of my retired DSP, I came across this knit paper and thought all the little images from Hand Knit would coordinate and be fun and easy to do.  I assembled my supplies, set the timer and went to work:


I managed to finish in 8 minutes and 42 seconds!  I stamped all the images in Smoky Slate ink, then diecut them with the Stitched Shapes square framelits.  I quickly colored them in with a Smoky Slate blend marker: 

stamped the sentiment from Crafting Forever down in the right hand corner, adhered them on my DSP, matted it with another layer of Smoky Slate and adhered it to my card.  


The only little "extra" I did was to stamp another ball of yarn, quickly cut it out and adhered it with a mini dimensional!!  I love monochromatic cards and this was a fun challenge! 

Now, how fast can you stamp?  Show us your creations stamped in 10 minutes or less over at the As You See It blog!  Can't wait to see them!

Cassidy signed up for karate....she really loved her introduction and can't wait to learn some moves!  She's already got the "HI-YAH" down pat!!


Enjoy your day and be blessed!


Thursday, May 3, 2018

IB18 Unicorn Dreams


Happy Thursday, peeps!  It's time for another Inspired By challenge, and we have a sponsor today---SRM Stickers!  You can go to the IB blog for all the details....there might just be a giveaway!  Anyway, let's get to my card today, and then see how I was inspired!  It is FINALLY warming up here...it's almost summer-like, which is what I anticipated...cold, then right to hot!  But I had this fun "spring" sticker and I couldn't help using it with some brightly-colored flowers and little bumblebees (also stickers):


I used some retired SU DSP in Pacific Point, Pretty in Pink and Bashful Blue to diecut some flower shapes, added some embossed centers and a little banner on which I added my spring sticker!  I stamped a few little dots here and there and added a wee little punched flower in Strawberry Slush as well.   And here is Laurel's challenge...it's hard to see, but there are  unicorns on the pillows inside the tepee:


Unfortunately, I have no unicorn stamps, so I went with the bright colors and I used the Less is More sketch for this week:


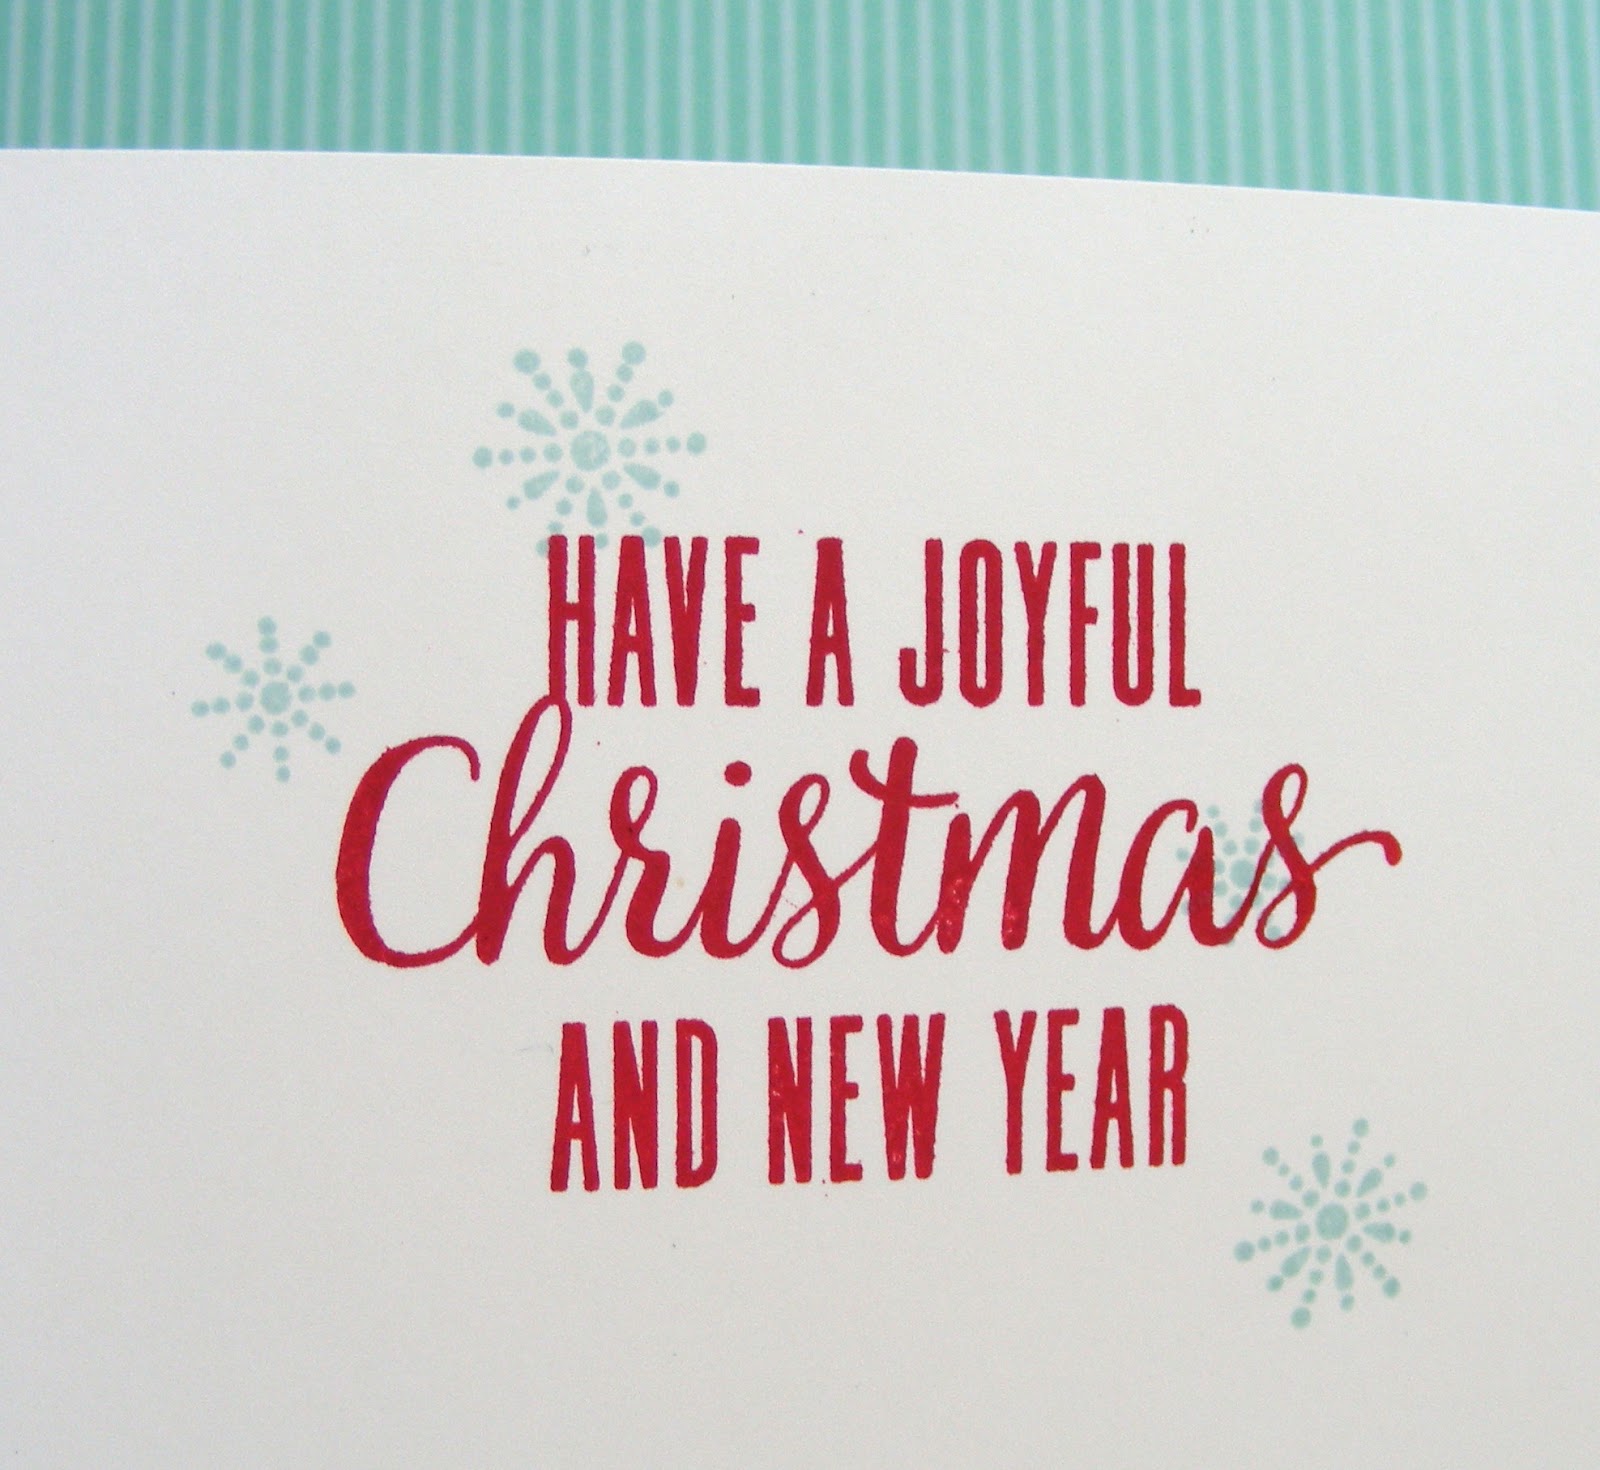
On the inside, I stamped a sentiment from a past Paper Pumpkin kit, adding some stamped flowers and some more dots:


When I originally diecut my flowers, they were a bit too big, so I used next smaller die to cut another flower from each piece; the outside pieces were too fun to toss, so I made another card, this time using some more stickers for the stem and the center:


The stem looked a little bare, so I diecut a bow from Strawberry Slush cardstock, using the Everyday Jar framelits, then did a little shading with my blender pen to give it some dimension:


These are such fun colors, and such a cute inspiration photo, I hope you'll play along with us!  Remember, there's a prize up for grabs too!  Check it all out at Inspired By!

Tuesday was SO gorgeous, I stopped everything I was doing at home and took a jaunt to Longwood Gardens; it was a riot of color, inside and out:


and a silly selfie of me....still figuring out how to do that with my camera, LOL!  But what a reminder of how great our God is, creating all this beauty for us to enjoy!


Enjoy your day and be blessed!

Project Details—All Products SU! Unless Otherwise Specified
Stamps Past Paper Pumpkin 
Card stock & Papers     Whisper White, Strawberry Slush and Bashful Blue (ret), Patterns DSP in Pretty in Pink, Pacific Point, Bashful Blue (ret)
 Ink Pacific Point, Strawberry Slush, Regal Rose,  Bashful Blue (ret)
Accessories SRM Stickers, Dimensionals
Tools     Big Shot, Everyday Jars Framelits, Flower Diecuts (Nestabilities), Circle Punches, Triple Flower Punch (ret), Square Lattice Embossing Folder (ret), Blender Pen

Tuesday, May 1, 2018

MM288 No Stamping Trio


Happy Tuesday, peeps!  And happy May Day!  Yikes, where did April go?  The Merry Monday challenge this week is to make a Christmas card with NO stamping!  


Just one?  I have enough Christmas paper to make hundreds!!  Well, how about three? I have a 12x12 pad of Simple Stories' Handmade Holiday paper and it has tons of fun little country images just itching to be made into cards!  I still love country stuff, how about you?


The size of these cards is 3 1/2" x 4 1/2"...they will still fit into a notecard-sized envelope.  I trimmed each panel from its page and added some embellishments; on this one, I added a diecut sentiment from Concord and 9th, and a little star I punched from SU's Corrugated Elements:


This one features a few diecut buttons; the "joy" is printed right on the paper...sweet!


And on this one, I added a "ho ho ho" diecut from Peachy and Cheap, cut from some SU Color Theory DSP:


All the designs were just printed paper...so easy and quick!  What a great challenge!  Thanks for popping by to see my creations!

On Sunday, Dana, Cassidy and Wayne were visited by Dana's half-brother Kevin and his bride Kristy!  We usually only see them at Christmas; I didn't get to see them, but I was glad Dana's family did!  By the looks of it, I think they must have ridden up from Maryland on their motorcycle!!  And as you can tell, it was still cloudy and chilly...MAYBE today we'll have a warmup!


Enjoy your day and be blessed!

Project Details—All Products SU! Unless Otherwise Specified
Stamps None
Card stock & Papers     Adhesive Sheets, Crumb Cake, Cherry Cobbler, Real Red, Always Artichoke, Color Theory DSP,  Kraft, Handmade Holiday DSP (Simple Stories)
 Ink Crumb Cake (for shading)
Accessories Dimensionals
Tools     Big Shot, Corrugated  Element, Button Die (ret), Ho Ho Ho die (Peachy and Cheap), Country Star Punch (ret), Sponge Dauber