Happy Tuesdsay, peeps! I had stamp clubs yesterday and so I had been busy in the last week trying to create some samples to show all the beautiful SAB products my gals had to choose from! I have to say that the Hippos and Rings of Love were the favorites! But here are three samples I randomly chose to share today:

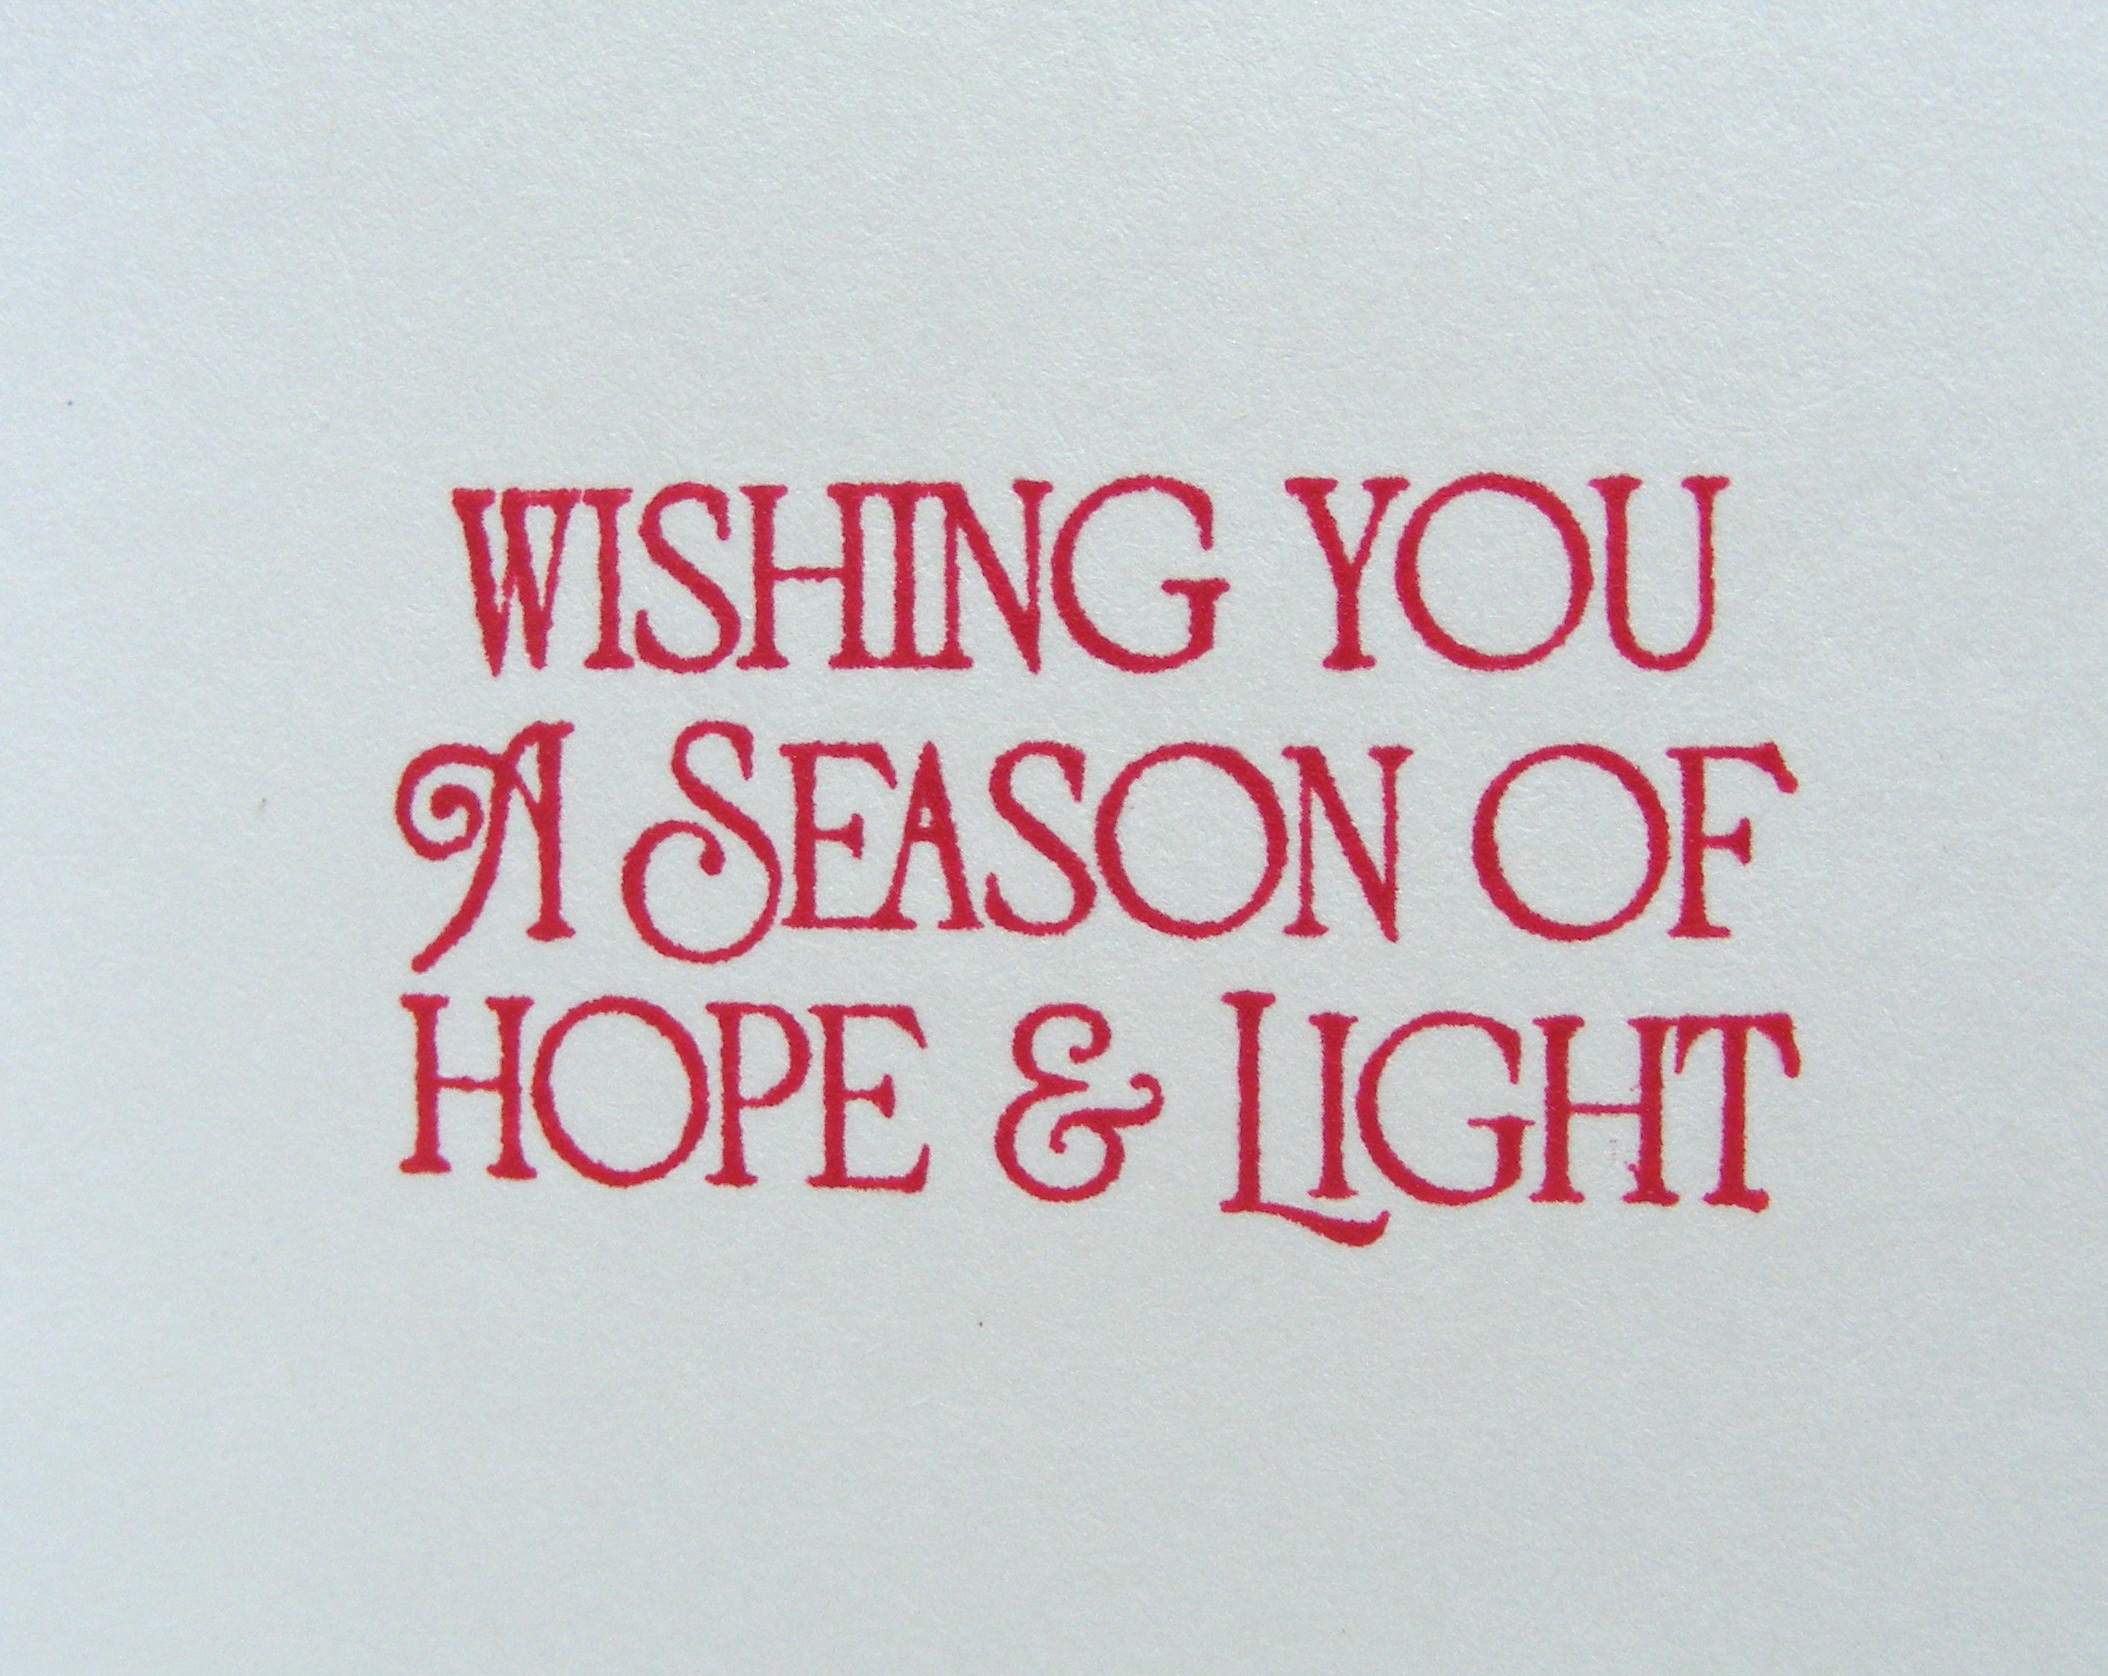
This holiday card uses Rings of Love DSP because it reminded me of a wintery, snowy woods. I added a sprig from Nature's Prints, inked with Crumb Cake and Cherry Cobbler markers and backed on a Stitched Rectangle panel that was stamped with a rectangle from Watercolor Shapes. The sentiment is from the new Brightest Glow, also diecut and stamped with Watercolor Shapes. I added a Cherry Cobbler border (Blossoming Happiness dies) and some red rhinestones.

I am also entering this at the Global Design Project, where they are looking for "shapes"....I have lots of rectangle shapes here!

My second card uses the ducks from the SAB set Stylish Shapes. I stamped them in Soft Suede on a panel that was diecut from the Scary Silhouettes Dies and added a sentiment from Happiness Abounds. I had a piece of Crumb Cake I had embossed with the Timber EF but never used, so I diecut a square panel from Stylish Shapes for the background, then mounted everything on a piece of He's The Man DSP and a Crumb Cake card. For interest, I diecut a little banner, cut it in half and tucked it into little slits on either side of the image, then added some metallic brads:

Finally, this pretty pattern from the Rings of Love DSP just makes me smile....I love all the BLUE! I had a wee little piece of the embossed Crumb Cake left from the card above, so I made a couple more little banners, added a baker's twine bow and a sentiment from Nature's Prints and Watercolor Shapes:


That's it for today! If you have any questions about the cards, shoot me an email!
Cassidy is at Summer Assembly this week; it's a camp put on by Christian Endeavor, and she is following in her mommy's footsteps, as Dana went for several years as a member of our church's youth group, and has fond memories of it! Cassidy was a bit apprehensive to go away for that length of time, but so far she seems to be having fun! Pray for her to grow in her faith in the Lord and to be a good witness! Truthfully, she looks so grown-up here, I can hardly believe it!

Enjoy your day and be blessed!