Sunday, November 7, 2021

PP566 Season of Thanks

Hi there everyone!  The first Sunday of November, and Claire is our awesome Paper Players hostess!  She's got a very timely theme for us:


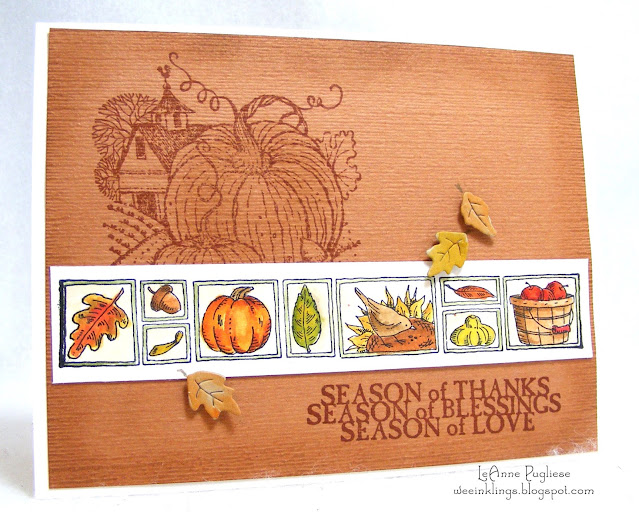
I should have saved my big fat turkey card for this challenge, but truthfully, I have many seasonal images in my stash of stamps that I can use, and I pulled out a couple of real oldies but goodies for my card today:


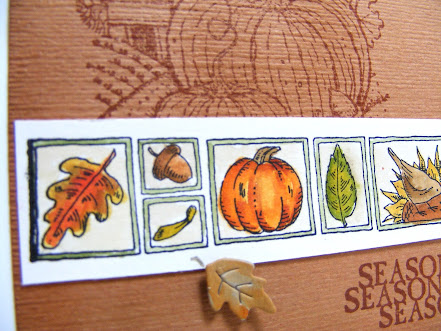
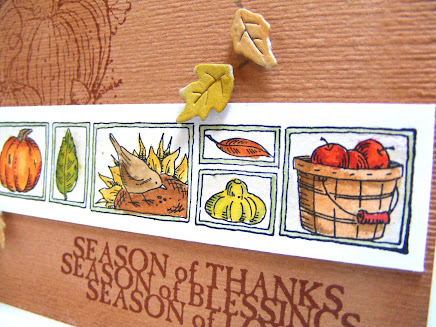
Nature's Seasonal Borders is one of my all-time favorite stamps!  I stamped the fall border with some Stazon ink on Shimmery White cardstock and watercolored my images in.  Once I was finished, I trimmed it down and mounted it on a piece of Cinnamon Cider cardstock on which I had stamped a fall image and sentiment from Harvest Home, then embossed with the Subtle embossing folder and did some sponging around the edges.   Here's a closeup of the images:


I added a couple of diecut leaves that I subtly watercolored to add a little dimension.  I just love the line images in this set, and I hope you do too!  Thanks for popping in today!  Be sure to check out what the other designers created for our thankful challenge, then share yours too at the Paper Players!

Project Details—All Products SU! Unless Otherwise Specified
Stamps Nature's Seasonal Borders, Harvest Home (both ret)
Card stock & Papers     Basic White, Cinnamon Cider, Shimmery White, Crumb Cake (leaves)
 Ink Stazon Black, Cajun Craze, Poppy Parade, Cherry Cobbler, Pear Pizzazz, Old Olive, Bumble Bee, Pumpkin Pie, Crumb Cake, Soft Suede
Accessories Mini Dimensionals
Tools     Big Shot, Seasonal Swirls Dies (leaves), Subtle EF (ret), Aquapainter, Sponge Dauber

Friday, November 5, 2021

FMS510 Big Fat Turkey

 Happy Friday, everyone!  YAY!  The weekend is upon us!  I made a monochromatic Thanksgiving card for the FMS sketch, created by the oh-so-talented Jen M, and it features a big, fat turkey!  Here's the sketch:

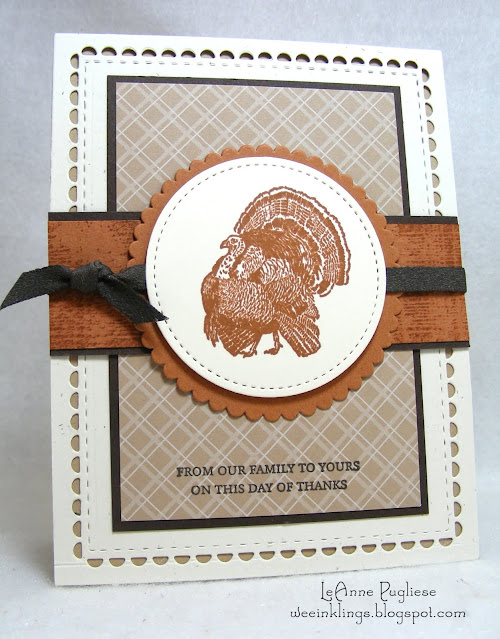
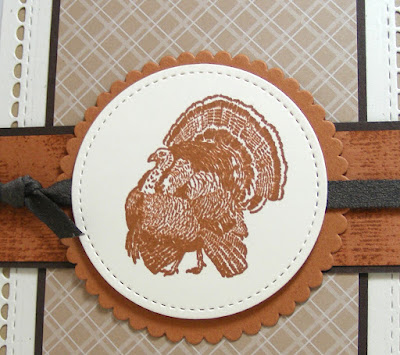
And here's my card:


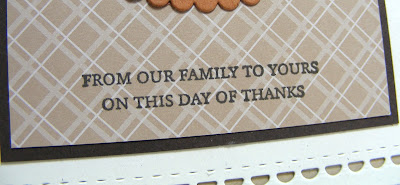
I had this die-cut panel of Naturals White cardstock sitting in my file, so I thought it would be a good starting place.  The turkey and sentiment are from the retired Day of Thanks; turkey is stamped in Cinnamon Cider and the sentiment in Early Espresso.  I stamped the horizontal panel with an old background stamp, I think it's called Flannel or something, I bought it used. The mats are Early Espresso, including the suede ribbon, although it looks black here!


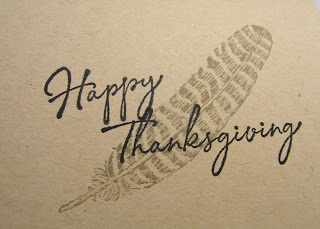
I mounted everything on a Crumb Cake card base and stamped the sentiment and feather from the same set on the inside!   Thanks for popping in today!


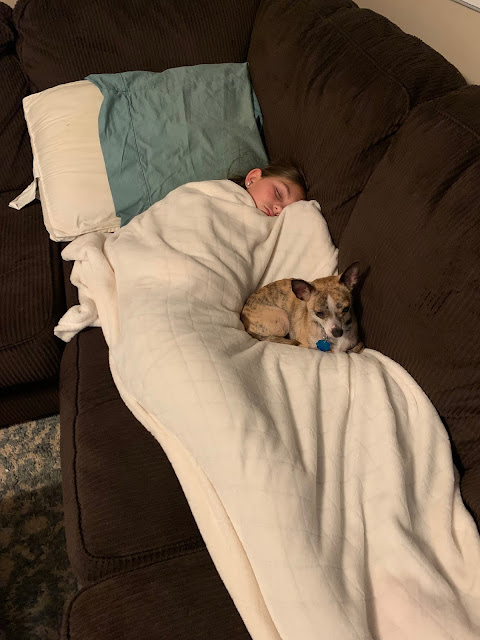
A busy day at school means you crash on the couch before dinner!  Ginger looks quite at home!  Enjoy your day and be blessed!


Project Details—All Products SU! Unless Otherwise Specified
Stamps Day of Thanks
Card stock & Papers     Very Vanilla, Early Espresso, Crumb Cake, Cinnamon Cider, Naturals White (ret), Crumb Cake DSP
 Ink Cinnamon Cider, Early Espresso, Sahara Sand
Accessories Early Espresso Suede Ribbon (ret), Dimensionals
Tools     Big Shot, Layering Circle Dies, Stitched Shape Dies (ret),Lacy Scallop Frame Die (Reverse Confetti)

Thursday, November 4, 2021

TTTC138 Season of Thanks

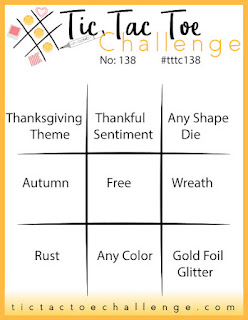
Hey there, stamping friends!  It's the first Thursday of the month, so Team X is ready with a new Tic-Tac-Toe grid for you to play with!  I chose the top row across:


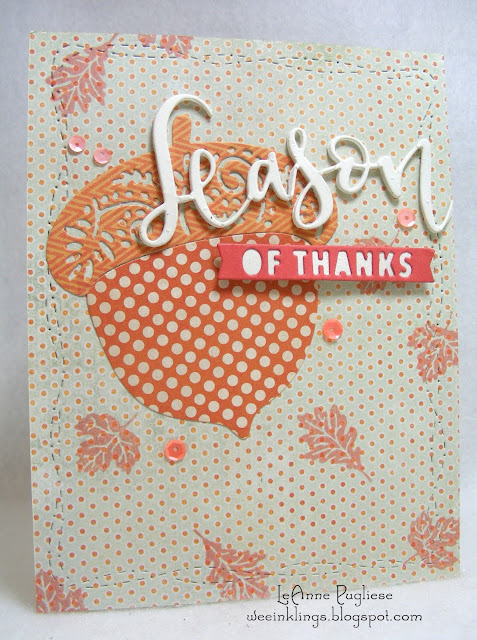
I love this acorn Spellbinder's die, and I paired it with a Concord & 9th sentiment die to make my Thanksgiving-themed card for today:


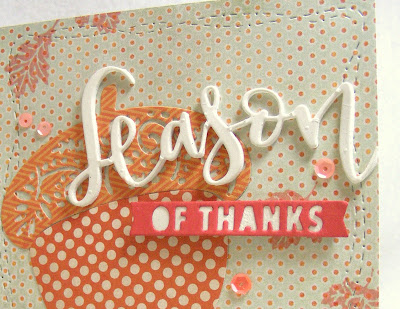
My papers are all from various 6x6 pads I've had for a long time; they're getting thin and well-used, but I still have a few sheets left!  Most of these came from My Mind's Eye Stella & Rose-Mabel line.  The colors aren't necessarily traditional Thanksgiving colors, but I thought they were pretty together!  I used the Stitched With Whimsy die on the larger piece, then stamped some Paper Pumpkin leaves on it with Crisp Cantalope ink.  I used a foam sheet to diecut my sentiments so they would really stand out against my acorn:


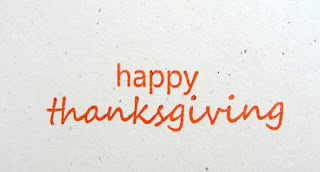
and then added a few sequins for fun.  A Papertrey sentiment went on the inside, stamped in Tangerine Tango....giving those older inks some use!


I think this grid is just in time for you to make some holiday cards....Thanksgiving or Christmas! Can't wait to see what you create!  Be sure to stop by the Tic-Tac-Toe blog to check out what Team X has created, then share yours too!  Thanks for popping in again; enjoy your day and be blessed!


Project Details—All Products SU! Unless Otherwise Specified
Stamps Take Three: Fall (Papertrey), Paper Pumpkin (ret)
Card stock & Papers     Very Vanilla, Confetti White (ret), Terracotta Tile (ret), Stella & Rose-Mabel DSP (My Mind's Eye)
 Ink Tangerine Tango, Crisp Cantalope (both ret)
Accessories Foam Sheet, Sequins from my stash
Tools     Big Shot, Stitched With Whimsy Dies, Acorn Small Die of the Month 2018 (Spellbinder), Season of Cheer Dies (Concord & 9th)

IB194 Thankful Wheat

Happy Thursday, peeps!  Time for a lovely new Inspired By challenge...I just love both of these prompts!  Check out these beautiful wreaths:


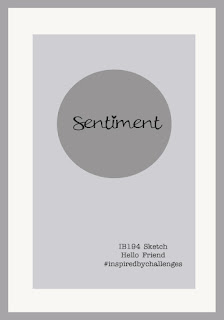
And here is our optional sketch:

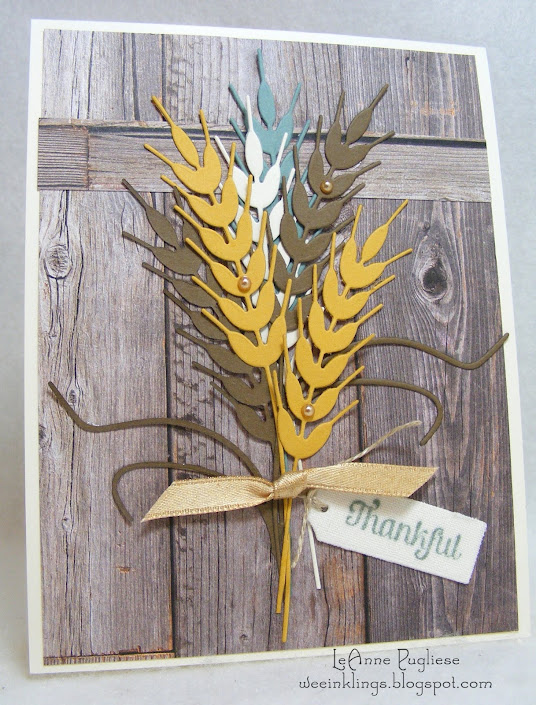
As I said, I do love wreaths and I was tempted to do a wreath card, but I challenged myself to do something different, so I made a wheat sheaf using an Impression Obsession die, some woodgrain DSP and some seasonal hues:

I used cardstocks in Very Vanilla, Bumblebee, Soft Succulent and Soft Suede to create my wheat, then added some gold satin ribbon and a Linen Specialty Paper tag.  The sentiment, also stamped in Soft Succulent, is from a retired set called Truly Grateful.  I also added some gold metallic pearls:


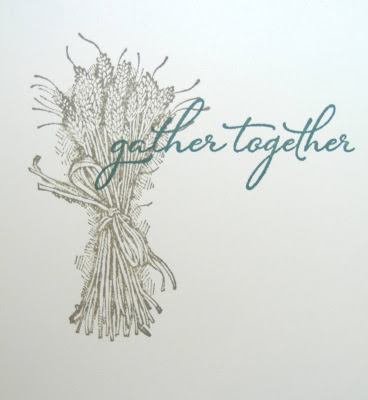
On the inside, I stamped a sentiment from Pretty Pumpkins and another image from the retired Truly Grateful set...I love how this looks!


I am also entering this at Little Red Wagon, where their challenge this week is So Very Thankful!

I hope you'll play along with our challenge...those wreaths are bound to give you lots of inspiration, and you MUST check out what the DT has created....honestly, they are so talented, I am not sure why they keep me around, LOL!  You can see them all at Inspired By!  Thanks for popping in today!

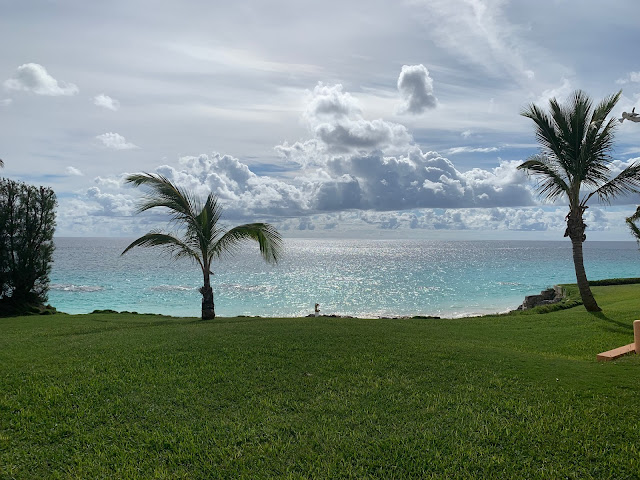
Wayne is stuck in Bermuda (more about that later) and he sent me this photo from his hotel patio:

Not too shabby!  Enjoy your day and be blessed!

"Praise be to the God and Father of our Lord Jesus Christ, the Father of compassion and the God of all comfort, who comforts us in all our troubles, so that we can comfort those in any trouble with the comfort we ourselves have received from God." 2 Corinthians 1:3-4

Project Details—All Products SU! Unless Otherwise Specified
Stamps Pretty Pumpkins, Truly Grateful (ret)
Card stock & Papers     Very Vanilla, Bumblebee, Soft Succulent, Soft Suede, Linen Specialty Paper, Woodgrain DSP(ret)
 Ink Soft Succulent
Accessories Gold Metallic Pearls, Linen Thread, Gold Satin Ribbon
Tools     Big Shot, Tailor Made Tags Dies, Wheat Dies (Impressions Obsession)

Wednesday, November 3, 2021

TCC163 Thankful for You

Hello there, stampers!  It's time for a new Card Concept challenge, and here is the photo prompt that Julie has for us today:

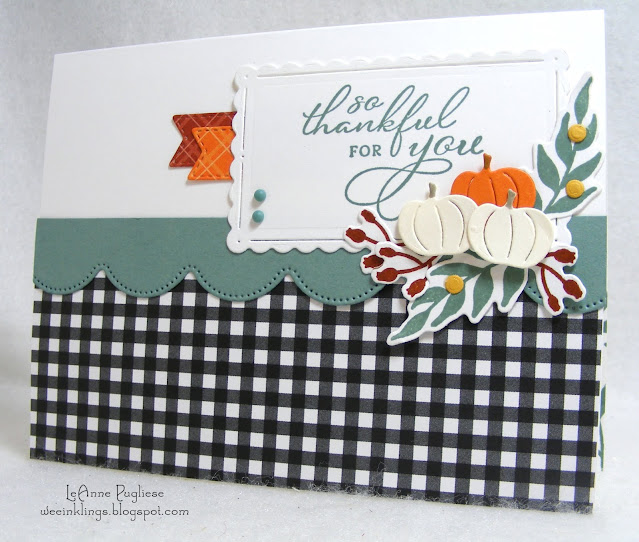
My inspiration for my card was the pretty pumpkins in the centerpiece, the color palette and the checkered napkins!  So here we go:


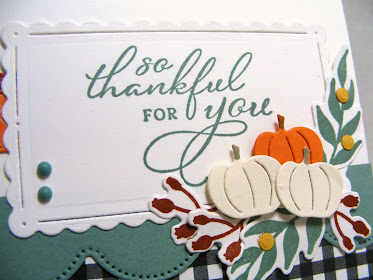
I used a sentiment from Pretty Pumpkins along with images and dies from the Sparkle of the Season bundle.  


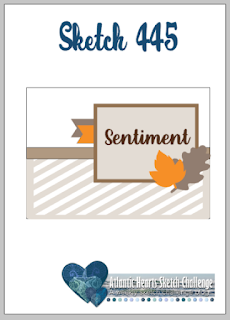
I found a piece of black and white checked DSP from a SAB package from a couple of years back, and I added two banners to complement my little pumpkin vignette!  The Soft Succulent horizontal piece was diecut with a Scalloped Contour border die, and the sketch that I used is from Atlantic Hearts:


I would say that my card is clean and layered...as usual!  I hope you'll play along with us as well!  Share your creation with us at The Card Concept, and be sure to tell us what your style is!  You can see all the styles listed on the blog!  Thanks for visiting today!

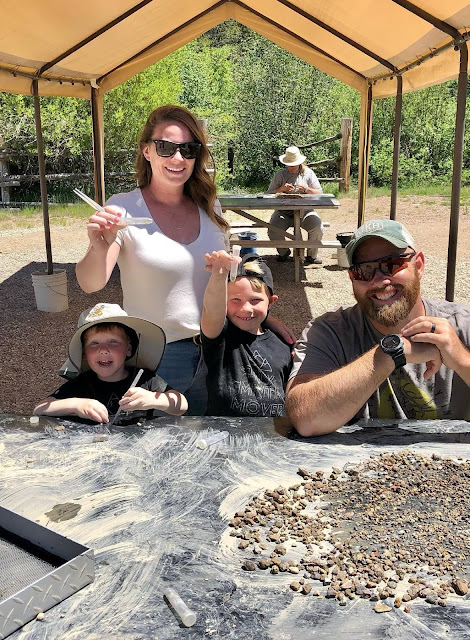
While in Montana, my nephew and his family went to a sapphire mine!  How cool!


Enjoy your day and be blessed!

"God is our refuge and strength, an ever-present help in trouble." Psalm 46:1

Project Details—All Products SU! Unless Otherwise Specified
Stamps Pretty Pumpkins, Sparkle of the Season
Card stock & Papers     Basic White, Very Vanilla, Bumblebee, Pumpkin Pie, Soft Succulent, Cajun Craze DSP, Pumpkin Pie DSP, Checked DSP (ret)
 Ink Soft Succulent, Cajun Craze
Accessories Dimensionals, Matte Decorative Dots
Tools     Big Shot, Tasteful Label Dies, Scalloped Contour Dies, Seasonal Swirls Dies

Tuesday, November 2, 2021

GDP316 Case the Designer

Happy Tuesday, everyone!  I am playing along with the Global Design Project today, which is to CASE the designer Stesha! 


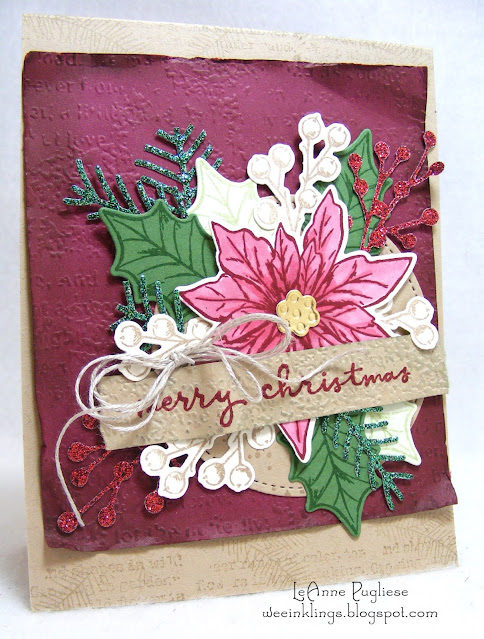
Wow, the original card was just beautiful and I was inspired by the colors and the nature theme, so I went with that, using the Poinsettia Petals for my Christmas card! Here we go:

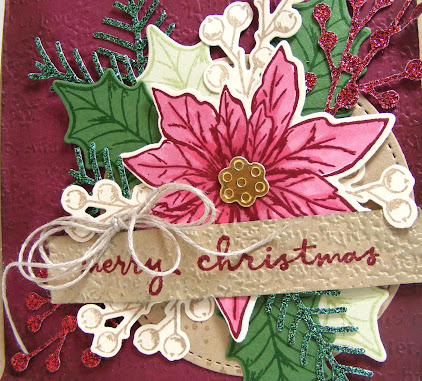
I started by running a piece of Merry Merlot through the Timeworn Type embossing folder, then distressing it a bit and actually separating it into two layers so it would be thinner to layer on my Crumb Cake card.  I stamped images from Poinsettia Petals, coloring my flower with a Blend and adding a gold foil center, then stamping & diecutting leaves from Garden Green and Soft Seafoam.  It still looked a little bare, so I added some berries, stamped in Crumb Cake and some Glimmer paper greenery and berries as well.  It all went on a circle of Crumb Cake.


I stamped a sentiment from Christmas to Remember on a strip of Crumb Cake, embossed it with the same folder and also separated it so make it flexible so I could pop it up a bit.  The final addition was a little Linen Thread bow.  I usually do things a little more clean, but I do love vintage and distressing, so this was fun to make as well!  I appreciate your popping in today!  Enjoy it and be blessed!

Project Details—All Products SU! Unless Otherwise Specified
Stamps Christmas to Remember, Poinsettia Petals, Quiet Meadow, Sparkle of the Season
Card stock & Papers     Very Vanilla, Soft Seafoam, Garden Green, Crumb Cake, Merry Merlot, Gold Foil, Glimmer Papers (ret)
 Ink Cherry Cobbler, Garden Green, Soft Seafoam, Crumb Cake, Sahara Sand
Accessories Dimensionals, Linen Thread
Tools     Big Shot, Timeworn Type EF, Stitched Shapes Dies (ret), Poinsettia Dies, Pretty Pines Dies

Monday, November 1, 2021

Inside Pop-up Fold Card Directions

Happy Monday, peeps!  Fall has certainly fallen here in SE PA!  Brrr!  Mother Nature can't make up her mind as to whether she wants rain or sun!  I had a request from a reader for directions to make this card, but she didn't leave me her email, so I'll do a quick tutorial.  (If you need more detailed instructions, just email me, don't leave it in the comments.)  I needed a 60th anniversary card for a couple at church and decided to use that as my sample; it's pretty basic, no extra stamping, but you should get the idea!  Here's the card to get us started:


And the inside:


So to start, you'll need an 8 1/2" x 5 1/2" piece of cardstock, scored on the 8 1/2" side at 2 1/8" from each end to create a gate-fold card.  You can decorate the front however you desire.  Take a piece of designer paper that is 4" x 8" and score on the 8" side at 2" and 6".  Make a little pencil mark at the top and bottom of the paper at the 4" mark, which will be at the halfway point.  Score diagonals like this:


You'll be scoring from each outside corner to the opposite halfway pencil mark.  (You'll be making four diagonal scores.) Fold and burnish on all the fold lines.  Pinch the folds at the 2" and 6" mark so they fold towards you, and the center diamond stays to the back:


Now is the time to decorate the diamond panel, BEFORE it's glued down, as well as doing any stamping on the inside top and bottom of your card, if you desire.  I chose not to do any on this card.  For my diamond panel, I stamped some images from Number of Years (ret):


To adhere it to the center of the card, I found it was easier to fold it all together and use liquid glue to adhere JUST the bottom diamond portion to the inside of the card, centering it.  Using the liquid glue allows you to wiggle it around a bit if it's not positioned quite right.


Once that portion is secure, you can adhere the outer triangular shaped panels to the inside of the card sides.  Just make sure, again, that everything is even and nothing is sticking out over the edge of the card.


You can add a decorative panel to the front, just make sure that you only adhere it to one side so that the card can still be opened.  I diecut my numbers from the retired Large Numbers die, and used the Stitched Shapes and Pierced Blooms for my panels.  To hold it shut, I used a ribbon under dimensionals for this card, but my friend Karen used small velcro dots and on my Halloween card, I used small magnets.  Use your imagination!  Hope this was helpful so that you can make your own pop-up card! Thanks for popping by today!  

As a child, I was never into spooky, scary Halloween costumes, but my granddaughter apparently is!  She made her own "zombie soccer player" costume....whatever!  They bought all the pieces at the local Goodwill and she did her own zombie-ing to it!!!


Enjoy your day and be blessed!

Project Details—All Products SU! Unless Otherwise Specified
Stamps Number of Years (ret)
Card stock & Papers     Basic White, Misty Moonlight, Harvest Meadow DSP
 Ink Misty Moonlight
Accessories Dimensionals, White Twill Ribbon (ret)
Tools     Big Shot, Stitched Shapes Dies (ret), Pierced Blooms Dies, Large Numbers Dies (ret), Ornate Flowers Embossing Folder, Scoring Tool