I said in an earlier post that I found Stacey's blog last night and she had a challenge post, her first one:
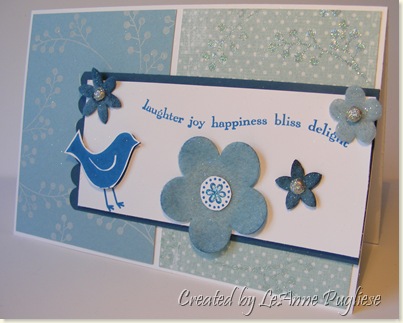
The colors she challenged us with were Not Quite Navy, Pacific Point, Baja Breeze & Whisper White. The SCS Challenge today was to use specialty paper--something with glitter or flocking or the like. I didn't have any of that, but I sure could add some glitter to paper I had. I also used the Sketch Challenge from last week! So here is my silly little card:
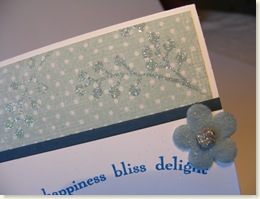
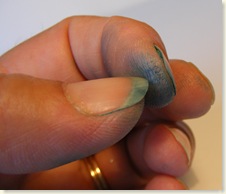
I used a new set called Best Wishes & More, using Baja Breeze and a Wild Asparagus DP (the colors actually match IRL!) that was stamped in Versamark, embossed with Heat & Stick Powder, then DD glitter. I experimented with my new Flower Fusion Too flowers by dying them with Not Quite Navy & Pacific Point ink, mixed with a couple drops of water. It is a fun technique, but very messy! If you have a manicure or are fussy about your nails, wear gloves! Make sure the flower is totally dry before putting it on the card. A little embosser or the tweezers from the Tool Kit are very helpful. I also sponged the edge of the large flower with ink; brads are covered with a mini glue dot & dipped in DD too.
- Stamps: Best Wishes & More, Always
- Paper: WW, Baja Breeze, Not Quite Navy, Wild Asparagus
- Ink: Pacific Point, Baja Breeze, Pacific Point, Craft White
- Acc: Flower Fusion Too Felt Flowers, Silver Brads, Mini Glue Dots, DD Glitter, Heat & Stick Powder, Heat Tool
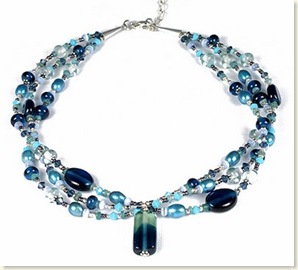
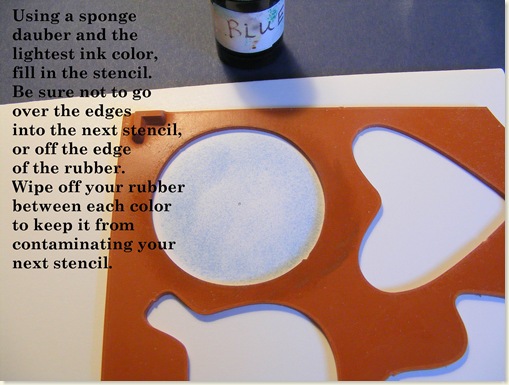
Well after that, I looked at the inspiration piece again and thought, I want to do another one, using different shades of blue! I had seen on another blog last night (sorry, I can't remember which one to give credit!!) where the negative rubber image from the stamp set was used as a stencil. Now I am sure everybody and their uncles have already thought of that, but of all the pieces I had thrown out prior to assembling this set, none had a really definitive shape. This one had a circle, a leaf and a heart! I could see some possibilities here! Since there was a cute little snowflake in this set, and I just got a new Martha Stewart snowflake punch, that seemed like a fun image to use. Edited to add: I removed the foam from the rubber piece before using it as a stencil!!! 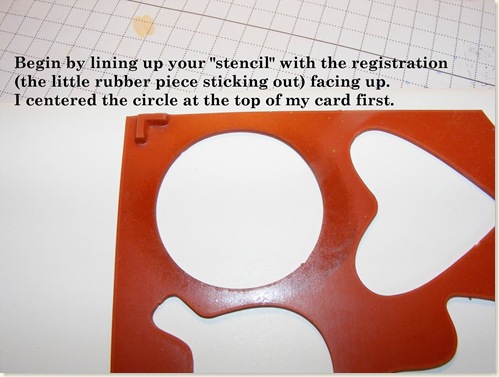
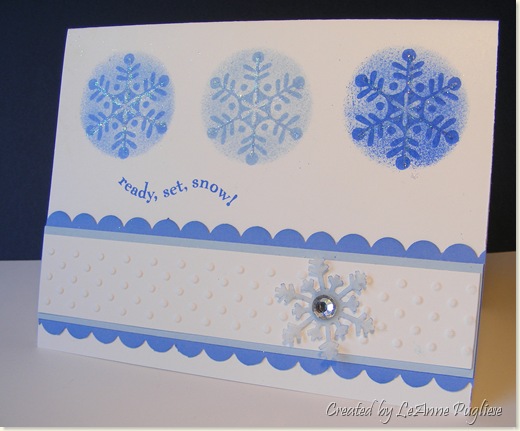
Using my Stamp-a-ma-Jig, I then stamped the snowflake over top each stencil in the same color. I added the sentiment, a little border using the new Cuttlebug Just My Type folder and SU's Scallop Edge punch and finished it off with a snowflake punched from vellum with my MS punch. I daubered it a bit to give it some contrast and added some bling with a rhinestone and DD glitter on the snowflakes. The glitter really doesn't show up, but it's there and it looks so pretty IRL!
I will be trying some other cards using the leaf stencil for fall, too. Thanks for visiting! I feel like these were a real challenge; my mojo must have been left at the Delaware shore! Thanks for hanging in here with me!

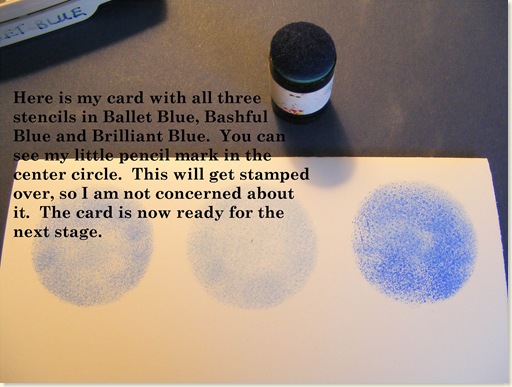
Very pretty card! Thanks for the tutorial about sponging the circles!
ReplyDeleteHow very clever you are!! Love this idea!! TFS!! :)
ReplyDeleteYep, looks a little messy there, but both cards are GREAT! Love all the shades of blue. :)
ReplyDeleteYour inked fingers made me wonder: What if you inked your thumb and used IT to, kinda, "stamp" with? You could make petals with your tiny finger even! I'm just sayin'.
ReplyDeleteThis could be the start of a new line for SU (if they can figure out a way to charge you for your own finger!) lol
Love both cards LeAnne! wonderful sparkles on the first - and thanks for sharing your technique on the 2nd!
ReplyDeleteThanks for your comments. You have such a fun blog with many creative ideas. Your color throwdown challenge looks fun!
ReplyDeleteAwesome cards, LeAnne and my what pretty fingers you have! :)
ReplyDeletewhat a beautiful card!! I love it!
ReplyDeleteI love what you've done with the jewelry inspiration challenge! Thanks so much for playing! Come back next week for more:)
ReplyDeleteWhat a fun technique! TFS! I love your cards too!
ReplyDelete